recycle

Cook: Winter Squash

IMG_5141.JPG

It's Halloween week! 

Not only is candy taking over supermarket shelves, but grocery store bins are piled high with winter squash. Spaghetti squash, acorn squash, kabocha, delicata, and pumpkin make delicious — and healthy — additions to your late fall meals. Winter squash is packed with flavor, not to mention vitamin C and vitamin A.

Despite the fact that they are big and bulky, they are easy to cook. You can add cubed squash to soups or salads or eat them roasted, straight out of the oven. Try mashing squash with butter and sour cream for a great mashed potato substitute. If you save the seeds, you can toast them with coarse salt in the oven for a post-hike snack. Cooked and pureed squash is a sweet addition to pies and cakes.

Winter squash also stores well. Most will keep for at least a couple of weeks on a kitchen counter, and the hard-skinned ones will keep much longer. We use winter squashes as fall-themed decorations until we're ready to eat them! 

Don't forget that peels, pulp, and stems can be composted. If you're making a Jack o’ Lantern this week, you can compost that too, after lighting it for a couple of nights.

This week Chef Mike Lawson is sharing a recipe for roasted delicata squash. Delicata is a good choice for this recipe because you can even eat the skins, but you can use other winter squash for this recipe too.

IMG_5136.JPG

Roasted Delicata Squash

2 ea     delicata squash

2 ea     scallions

3 T       red wine vinegar

1/4 c    extra virgin olive oil

pinch   red chili flakes

pinch   ground cumin seed

as needed neutral oil for frying (like canola oil)

1.     Preheat oven to 350°, and wash the squash.

2.     Cut the ends off the squash, and split the squash in half lengthwise, reserving the pulp and seeds from the squash.  Leaving the skin on, cut the squash into half moon shapes, about ½-inch think and set aside.

IMG_5134.JPG

3.     Place the seeds and pulp in a small pot, add a pinch of salt and cover with water.  Bring the water and seeds to a boil and gently simmer for 5 minutes.  With a slotted spoon or spider, remove the seeds from the water, leaving the pulp behind.  Place the seeds in a bowl of cold water and allow to cool for a few minutes.  While they are cooling, strain the cooking water through a fine mesh strainer.  Save this liquid as it can be used as a base for squash soup, or more vegetables can be added to it to make a winter vegetable stock.

IMG_5135.JPG

4.     Once the seeds have cooled, strain the seeds once again, separating the seeds from the pulp. Discard the pulp and water, and dry the seeds on a paper towel. Heat ¼ c. of neutral oil in a heavy-bottomed pan or pot on high heat, and fry the dried seeds in the oil. Be careful, as some of the squash seeds will pop. When they are golden brown, strain the seeds from the oil and onto a paper towel. Season immediately with salt and any spices you would like. Place the seeds on a sheet tray, and place in preheated oven for a few minutes to finish cooking. Once they are golden brown and tasty, remove from the oven and allow to cool. You can save the oil from frying the seeds to roast the squash.

5.     Steps 1 - 4 can be done a couple of days ahead of time. Store the cut squash in the refrigerator, and keep the fried seeds in an air tight container at room temperature.

6.     Slice the scallions thinly on the bias, separating the white from the green parts, and place to the side.

7.     When ready to serve, heat a sauté pan or cast iron pan on high heat. Add approximately 2 T. of reserved frying oil to the pan. Once hot, place the squash in the pan, and season with salt. Do not overcrowd the pan, or the squash will not get any color. You may have to cook the squash in batches. Cook on one side until golden brown, and then flip each piece over and cook until golden brown on the other side. Move the squash to a foil-lined sheet tray, and continue cooking the rest of the squash. When all of the squash has been seared and moved to the sheet tray, place the tray on 350° oven until just cooked through. Depending on how long it took to sear the squash, you may not need to cook the squash in the oven for very long, if at all. The squash should be soft but still hold its shape. You do not want to cook the squash until its mushy.

IMG_5142.JPG

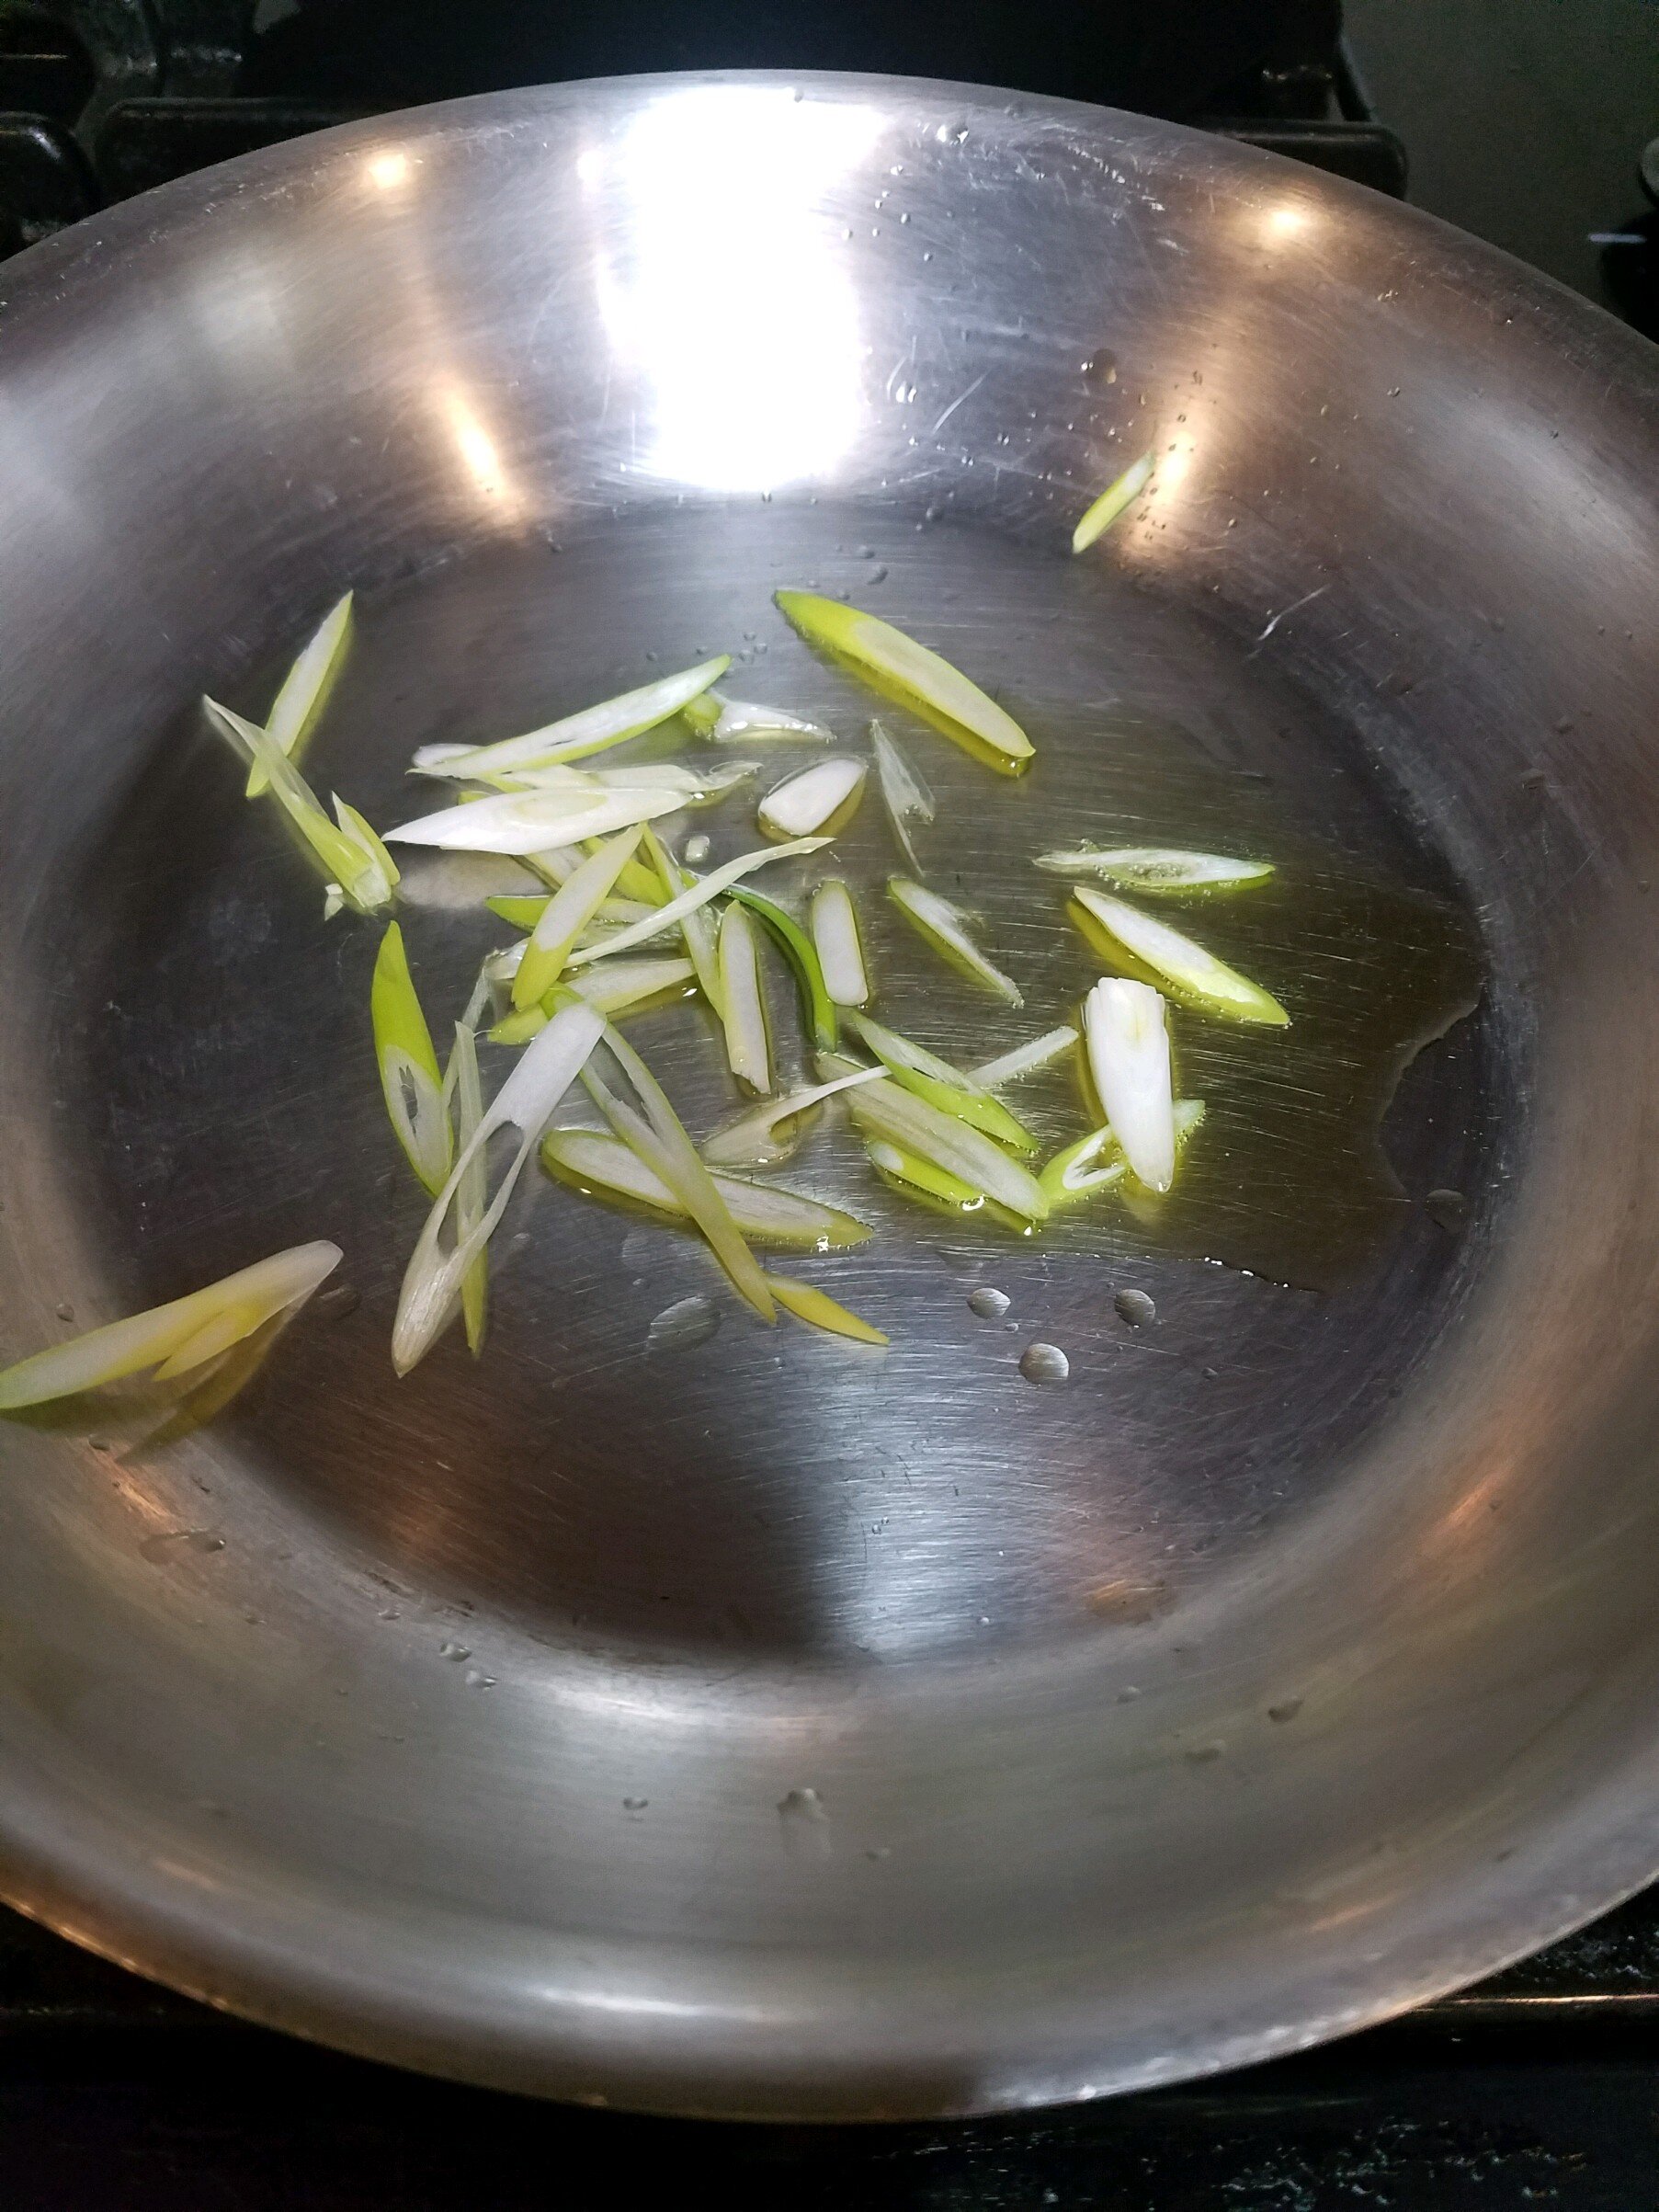
8.     While the squash is finishing, heat a 1 T EVOO in a stainless steel pan over medium heat. Place the sliced whites of the scallions in the oil, and gently cook until translucent, 1-2 minutes. Once cooked, turn the heat off, and add the pinch of chili flake and ground cumin to the hot oil. Stir once, and deglaze with the red wine vinegar. Season with salt to taste. Move to a bowl, and whisk in the rest of the EVOO. You can adjust the spices to make the vinaigrette to your preference. 

IMG_5138.JPG
IMG_5139.JPG

9.     To plate, place the squash in a plate or bowl, sprinkle the fried seeds over the top, toss the scallion greens on top of the seeds and squash, and drizzle the vinaigrette over all of it.

IMG_5140.JPG

Recycle: Tired Summer Flowers

Dying flowers.jpg

Did you ever think it would happen? The weather has finally turned cool in North Texas.

You are clearing out your tired summer annual plants and flowers from your home landscape beds. (Hint: “annuals” are flowers and plants that only live for one growing season vs. “perennials” that live year-round through multiple seasons).

Us Texans tend to love periwinkles, petunias, verbenas, and pentas in the summertime because they visually pop with pretty colors and they like our heat.

Now fall is here, and you want to upgrade the front of your house with cold-loving flowers like mums, snap dragons, pansies, and ornamental cabbages.

Don’t throw away those summer flowers in the trash. Compost them.

Fresh flowers are a great nitrogen source, and dried flowers and plants are a great carbon source. Together, they create an ideal composting mixture. (Remember, compost happens when you combine carbon sources, nitrogen sources, water, and air!)

Here are a few ways to compost your flowers at home:

1. Pull them up from your bed, and leave them where they are to rot. (If you’re worried that they may look messy, you can throw them to an unseen corner of your bed, or you can mulch over them). This is called sheet composting.

2. Add them to your backyard compost bin, and water them in.

3. Leave them in a walkway between your beds where you often walk, and yes – walk over them! Add some leaves and water, and continue walking over the old flowers throughout the fall and winter seasons. The flowers will eventually break down with the other organic items, and you can rake all of this material back into your beds come spring. That will add another layer of organic matter to your soil. This is a method of composting called walkway composting.

Recycle: Shredded Paper

Shredded paper can be composted at home! It is a great source of carbon year-round for your compost production, as some time outdoor carbon sources can be difficult to find in the warmer months. Remember, the best ratio of carbon to nitrogen (C:N) is 30:1, which means ideally you will have a large and steady supply of browns to your greens. Shredded paper is just that, a carbon source. It also provides good structure to the soil as it breaks down.

Shred and compost your: receipts, bank statements, newspapers, envelopes, newspapers, used printer paper..

Here are some important things to keep in mind:

  1. Remove any plastic from envelopes before shredding.

  2. Avoid wax coated, glossy, or colored paper.

  3. Be sure it is mixed in thoroughly with your greens (food scraps, coffee grinds, etc.), so as to avoid clumping and thatching. It will break down faster if thoroughly mixed in.

Recycle: Rainwater

It’s hard to believe right now that we will ever see a week without rain, but with a little preparation now, you can still have happy plants during our rainless summer months!  Harvesting rainfall, storing it, and using it during periods of drought is a practice as old as time, but its implementation for landscaping in urban areas today helps with many North Texas issues, specifically:

●      Reduces pressure on city water

●      Shrinks your water bill

●      Captures salt- and mineral- free (ie. chlorine) water for plants

●      Reduces urban erosion and contaminated run-off in stormwater systems

While there are many methods of varying complexity and expense to collecting, storing, and using rainwater, all have the same basic components: catchment surface, distribution, and holding area.   Our two favorite methods below are some of the easiest and most cost-effective in an urban residential setting.

1. UTILIZE A RAIN BARREL

○      By replacing your downspout with a rain chain, or diverting your existing downspout into a 50-gallon water barrel, you collect a significant amount of rain from a fairly small amount of rainfall.  The barrel can then be attached to a pump and hose or a regular spout for hand watering and used in your landscape.

Rain Barrel2.jpg
Rain Barrel.jpg

○      For those more mathematically-minded, there are Supply calculations that will help you determine your required storage capacity based on catchment surface runoff coefficients, the storage capacity of the rain barrels, and roof surface area.  For example, 1 inch of rain on a 1000-square foot wood shingle roof can produce 85-gallons of water. 

○      The collected water is NOT potable water, as there can be trace metals, pesticides,  and microbial contaminants from animal droppings.

2. MAKE A RAIN GARDEN

○      A rain garden is a shallow, depressed landscape feature that collects rainwater run-off from impermeable surfaces.  During a storm, rainwater is immediately diverted from a catchment area like a roof or paved parking lot and collected here where it will soak into the soil within 24-48 hours. 

○      Typically the rain garden will be downhill on a small slope from the catchment area, and small berms will be placed on the downhill perimeter of the rain garden to contain the rainfall. 

○      Plants selected to be planted in the rain garden should be native and able to tolerate both waterlogging for 48 hours and 3 weeks of drought. 

○      This method requires minimal upkeep, and can be an easy source of color in your yard in the form of native perennials and wildflowers!

Rain Garden.jpg